Imago Printer Imago Printer

7 Tips How to Troubleshoot Card Printer Connection Issues?

Time:2026-10-09 Author:Sienna
0%

Card printer connection failures can stop an otherwise smooth identification, access-control, or membership-card workflow. A printer may appear powered on, yet remain invisible to the computer. The cause could be a loose USB cable, an incorrect network address, an outdated driver, or a blocked print queue.

This guide explains How to troubleshoot connection issues in card printers through seven practical tips. These steps reflect common service-desk and workplace troubleshooting experience. They begin with simple physical checks, then move toward software, network, and device settings. Small details matter. A damaged cable may still charge another device but fail during data transfer. A printer can also show as “ready” while its driver communicates with the wrong port.

Start with the evidence.

Check the printer display, indicator lights, cable path, computer settings, and recent changes. Record error messages before restarting anything. That detail can reveal whether the problem involves power, communication, permissions, or configuration. Test one change at a time, or the real cause may become unclear.

Some steps may seem obvious. They are still frequently missed during busy production hours. In my experience, rushed troubleshooting often creates a second issue, such as deleting a working driver or changing network settings without documentation. Reliable support depends on careful checks, compatible software, and manufacturer guidance. When a fix does not work, reconsider the assumption rather than repeating it. The following tips provide a clear, safe path toward restoring stable card printer communication.
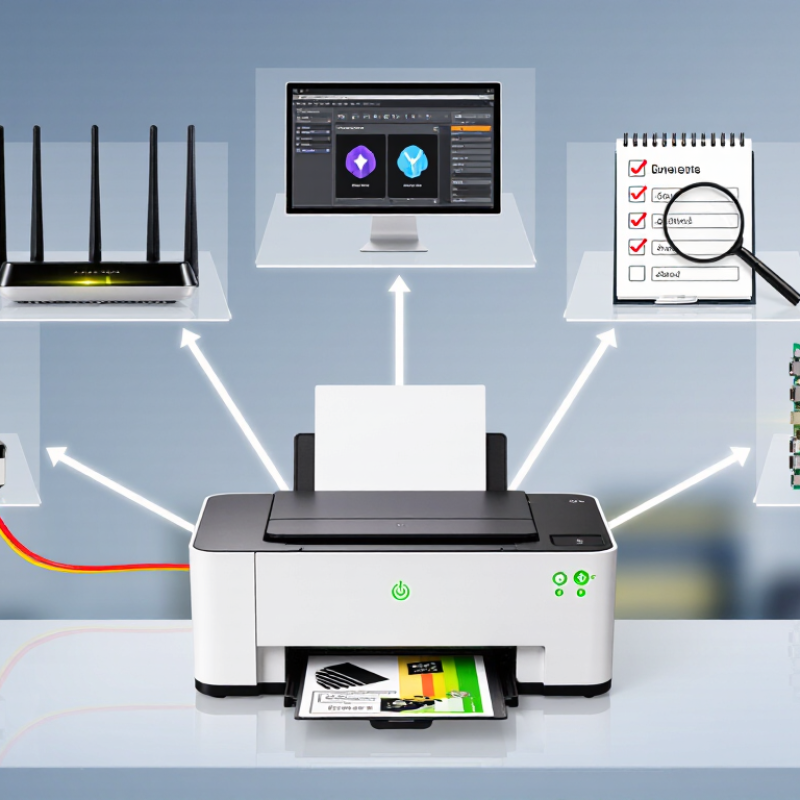
7 Tips How to Troubleshoot Card Printer Connection Issues?

Map the Connection Path: USB 2.0 Supports up to 480 Mb/s (USB-IF)

7 Tips How to Troubleshoot Card Printer Connection Issues?

Map the connection path before replacing hardware. USB-IF’s USB 2.0 specification lists a maximum signaling rate of 480 Mb/s. That figure is theoretical, not the printer’s actual writing speed. A long cable, shared hub, damaged connector, or background transfer can reduce stability. Use a short, certified USB cable. Connect it directly to the computer. Avoid front-panel ports during testing. Check the cable ends for looseness, dust, or bent contacts.

Watch the path. Is the printer visible in the operating system? Does the device disappear when printing starts? These details separate driver failures from power or signal faults. USB-IF compliance guidance distinguishes high-speed operation from basic USB detection, which matters here. A device may appear connected while still failing sustained data transfer.

Reinstall the correct driver only after testing another port. Restart the print service, then clear stuck jobs. If possible, test one computer and one printer, not a crowded office hub.

Measure twice. A practical transfer rate below 480 Mb/s is normal. The specification does not promise 480 Mb/s at application level. I have seen technicians blame drivers too early. I have made that mistake myself. Record cable length, port type, operating system, error time, and printer status. For longer runs, compare results with an active extender approved for the required USB speed. Keep firmware current, but change one variable at a time. That discipline often reveals the real break in the connection path.

Verify Power, Drivers, and OS Compatibility Before Testing

7 Tips How to Troubleshoot Card Printer Connection Issues?

Before testing, verify that the printer receives stable power. Check the wall outlet, power cable, and indicator lights. A loose connection can look like a software failure. I once spent twenty minutes checking settings while the power strip was switched off. That mistake was avoidable.

Confirm the data cable is firmly attached, then try another computer port. Inspect the cable for bends or exposed damage. Install the correct printer driver from a trusted support source. Remove outdated drivers when they conflict with newer versions. Check whether the driver supports your operating system and its current update level. Compatibility problems often appear after automatic system upgrades. Do not assume an old driver will remain reliable.

Review the printer’s connection settings and select the correct device in the print queue. Clear paused or failed jobs before sending another card. Restart the printer and computer after driver changes. Then print a small test document. If the device remains unavailable, open the system’s hardware or event logs. Look for permission errors, disconnected ports, or failed driver services. Record each change you make. This creates a dependable troubleshooting trail, although I sometimes forget to document small adjustments. Test one variable at a time. Random changes can hide the real cause.

7 Tips How to Troubleshoot Card Printer Connection Issues? - Verify Power, Drivers, and OS Compatibility Before Testing

Tip What to Verify Diagnostic Steps Expected Result Recommended Action
1 Power and status indicators Confirm that the power cable is firmly connected to the printer and wall outlet. Check whether the power switch is on and observe the status light or display for startup activity.
Start here
The printer completes its startup sequence and shows a ready, idle, or online status. Test a known-working outlet, reseat the power cable, and remove temporary power strips or extension leads. If there is no response, disconnect power briefly and retry according to the printer’s service instructions.
2 Physical data connection Inspect the USB or network cable for damage. For USB connections, connect the cable directly to the computer rather than through an unpowered hub. For network connections, check the network port indicators. The computer detects the printer, or the printer receives a valid network link. Reseat both ends, try a different compatible cable, and use another computer port. For network printing, verify that the cable is connected to the correct network socket.
3 Printer queue and default device Open the operating system’s printer settings. Confirm that the correct printer entry exists, is selected as the default when appropriate, and is not paused, offline, or blocked by old jobs. The printer appears in the device list and test jobs are not held in an error state. Cancel stuck jobs, clear or restart the print spooler, and set the correct printer as the default. Remove duplicate or obsolete printer entries if they cause confusion.
4 Driver installation and version Review the installed printer driver in the operating system’s device or printer properties. Confirm that the driver matches the printer model and the computer’s operating system architecture.
Common cause
The device has no warning icon, the driver loads without an error, and printer properties open normally. Install the correct current driver from the printer manufacturer’s official support source. Remove conflicting or incomplete driver packages before reinstalling when necessary.
5 Operating-system compatibility Compare the computer’s operating system edition, version, and 32-bit or 64-bit architecture with the printer’s documented compatibility requirements. Check whether the required connection method is supported. The operating system is listed as supported, and the selected driver and connection type are compatible. Apply available operating-system updates, use a supported driver, or test from a supported computer. Avoid forcing an incompatible driver because it can cause failed jobs or device instability.
6 Network address and access For network-connected printers, verify that the printer has an IP address and that the computer is on the correct network. Test reachability using the operating system’s network tools and check firewall rules. The printer has a valid address, responds on the network, and the required print service is not blocked. Reconnect the network cable or wireless connection, renew the network configuration, correct the printer port address, and allow the approved print traffic through the local firewall.
7 Controlled test print and application settings Print a test page from the operating system first, then print a simple card from the intended application. Record whether the failure occurs during detection, driver communication, or application output.
Final check
The operating-system test page prints successfully, followed by a correctly formatted card from the application. If the test page works but the application fails, verify the selected printer, card size, orientation, permissions, and application driver settings. If all tests fail, repeat the power, cable, driver, and compatibility checks before escalating.

Testing order: Verify power first, then the physical connection, printer queue, driver, operating-system compatibility, network access, and finally the application test. This sequence separates hardware, connection, software, and configuration faults efficiently.

Check IP Settings and Cable Limits: IEEE 802.3 Allows 100 m

When a card printer disappears from the network, check its IP address before replacing hardware. The printer and workstation should usually share the same subnet. Compare the printer’s IP, subnet mask, gateway, and DHCP status with a working device. A duplicate IP can create intermittent failures. It may print once, then vanish.

Cable distance matters more than many technicians expect. IEEE Std 802.3 specifies a 100-meter maximum channel for common twisted-pair Ethernet links. That distance includes patch cables, not only the long wall cable. TIA-568.2-D also uses a 90-meter permanent-link model, leaving about 10 meters for patching. Do not treat 100 meters as a recommended target. Signal quality can decline earlier with poor terminations, tight bends, electrical noise, or damaged pairs. One overlooked connector can imitate an IP problem.

Measure the route, including desk and rack leads. Test the cable with a certified qualification tool, rather than relying only on link lights. If the printer sits beyond 100 meters, place an active network switch within the approved distance. Avoid simply adding passive couplers. IEEE 802.3 data rates also have different physical-layer requirements, so a cable that works at one speed may fail at another. My early troubleshooting often focused on software first; that was inefficient. A short replacement cable and a fresh IP lease sometimes revealed the real fault within minutes.

Test TCP/IP Ports, Firewalls, and Print Queues Systematically

7 Tips How to Troubleshoot Card Printer Connection Issues?

Test TCP/IP Ports, Firewalls, and Print Queues Systematically

Start with the printer’s current IP address, not an old setup sheet. Confirm the computer and printer share the expected network segment. Then ping the address and check for duplicate responses. Ping is useful, but it does not prove printing access. Test the required TCP port with a network utility, such as Test-NetConnection or netcat. Record the result, port number, time, and device address. A failed port test usually indicates routing, firewall, or service problems. Do not change several settings at once.

Review outbound rules on the workstation and inbound rules near the printer or print server. Check whether the network profile changed after an update. Permit only the required port, and avoid disabling the entire firewall during testing. Compare results from one affected computer and one working computer. This controlled comparison often reveals a local policy issue. Next, inspect the print queue for paused status, stale jobs, or repeated error documents. Cancel one damaged job, then send a small test card. If the queue remains frozen, restart the print spooler only after documenting active jobs. I once blamed the network, but a corrupted queue caused the delay. Recheck the printer’s IP after every reboot; automatic address changes can quietly break a reliable setup.

Update Firmware and Confirm Recovery with a Controlled Test Print

A card printer that suddenly disappears from the network may need more than a driver restart. Check the cable, IP address, port settings, and print queue first. Then record the current firmware version before changing anything. Quocirca’s 2023 Print Security Landscape reported that 68% of organizations experienced a print-related data breach within twelve months. Firmware maintenance is therefore an operational control, not merely a technical chore.

Tip 1: Download firmware only from the authorized support portal. Tip 2: Confirm the device model and hardware revision. Tip 3: Keep power stable during installation. A failed update can create a second problem. Verizon’s 2024 Data Breach Investigations Report also recorded a 180% increase in vulnerability exploitation, reinforcing the need for controlled updates and documented change records.

Tip 4: Restart the printer and host after updating. Tip 5: Confirm the new firmware version locally and through the management interface. Tip 6: Run one controlled test print using non-production data. Check connection status, job acceptance, print alignment, and card handling. Tip 7: Repeat the test after a short idle period. The first successful print can be misleading. In practice, I have seen recovery declared too early because only one variable was checked. A better record includes the time, firmware version, network status, test result, and any error message.

FAQS

Why does a card printer connect but fail during printing?

Detection only proves basic communication. Sustained data transfer may fail because of a long cable, loose connector, shared hub, or background traffic. I once blamed the driver too early.

What USB setup should I test first?

Use a short, certified cable. Connect the printer directly to the computer. Avoid front-panel ports during testing. Check for dust, bent contacts, or loose cable ends.

Does 480 Mb/s mean the printer writes at that speed?

No. It is a theoretical signaling limit. Actual performance depends on the cable, port, printer, computer, and active transfers. Slower application speeds can be normal.

How can I separate a driver problem from a connection problem?

Watch whether the printer appears in the operating system. Notice whether it disappears when printing begins. Test another port before reinstalling the driver. Then restart the print service and clear stuck jobs.

Which network settings should I check when the printer disappears?

Compare the printer’s IP address, subnet mask, gateway, and DHCP status with a working computer. A duplicate IP may allow one successful print, then cause repeated disappearances.

How far can a typical Ethernet cable run?

The common maximum channel is 100 meters, including patch cables. A practical permanent link is often 90 meters, leaving roughly 10 meters for patching. Do not treat the limit as a target.

What physical cable problems can imitate an IP failure?

Poor terminations, damaged pairs, tight bends, electrical noise, and loose connectors can reduce signal quality. Test the complete route with a certified qualification tool. Link lights are not enough.

What should I verify after updating printer firmware?

Record the old version first. Confirm the device model and hardware revision. Keep power stable during installation. Afterward, restart the printer and host, then confirm the new version.

How should I confirm that the printer is truly recovered?

Run one controlled test print with non-production data. Check connection status, job acceptance, alignment, and card handling. Repeat after a short idle period. One successful print proves very little.

Conclusion

How to troubleshoot connection issues in card printers begins with tracing the complete connection path, from the computer and interface cable to the printer and network, if applicable. For USB connections, confirm that the port, cable, and system support the required transfer rate, with USB 2.0 supporting up to 480 Mb/s. Before deeper testing, verify that the printer has stable power, the correct drivers are installed, and the operating system is compatible.

For network-connected printers, check the IP address, subnet, gateway, and cable condition, remembering that standard Ethernet cabling typically supports distances of up to 100 meters. Next, test the required TCP/IP ports, firewall permissions, and print queue status in a logical order. If communication still fails, update the printer firmware and restart the system when appropriate. Finish with a controlled test print to confirm that the connection, driver, and printing workflow have fully recovered.

Sienna

Sienna

Sienna is a skilled marketing professional with a deep expertise in our company’s core products and services. With a passion for innovation and detail, she plays a pivotal role in crafting insightful blog posts that not only highlight the unique features of our offerings but also provide valuable......